Table of Contents
Introduction
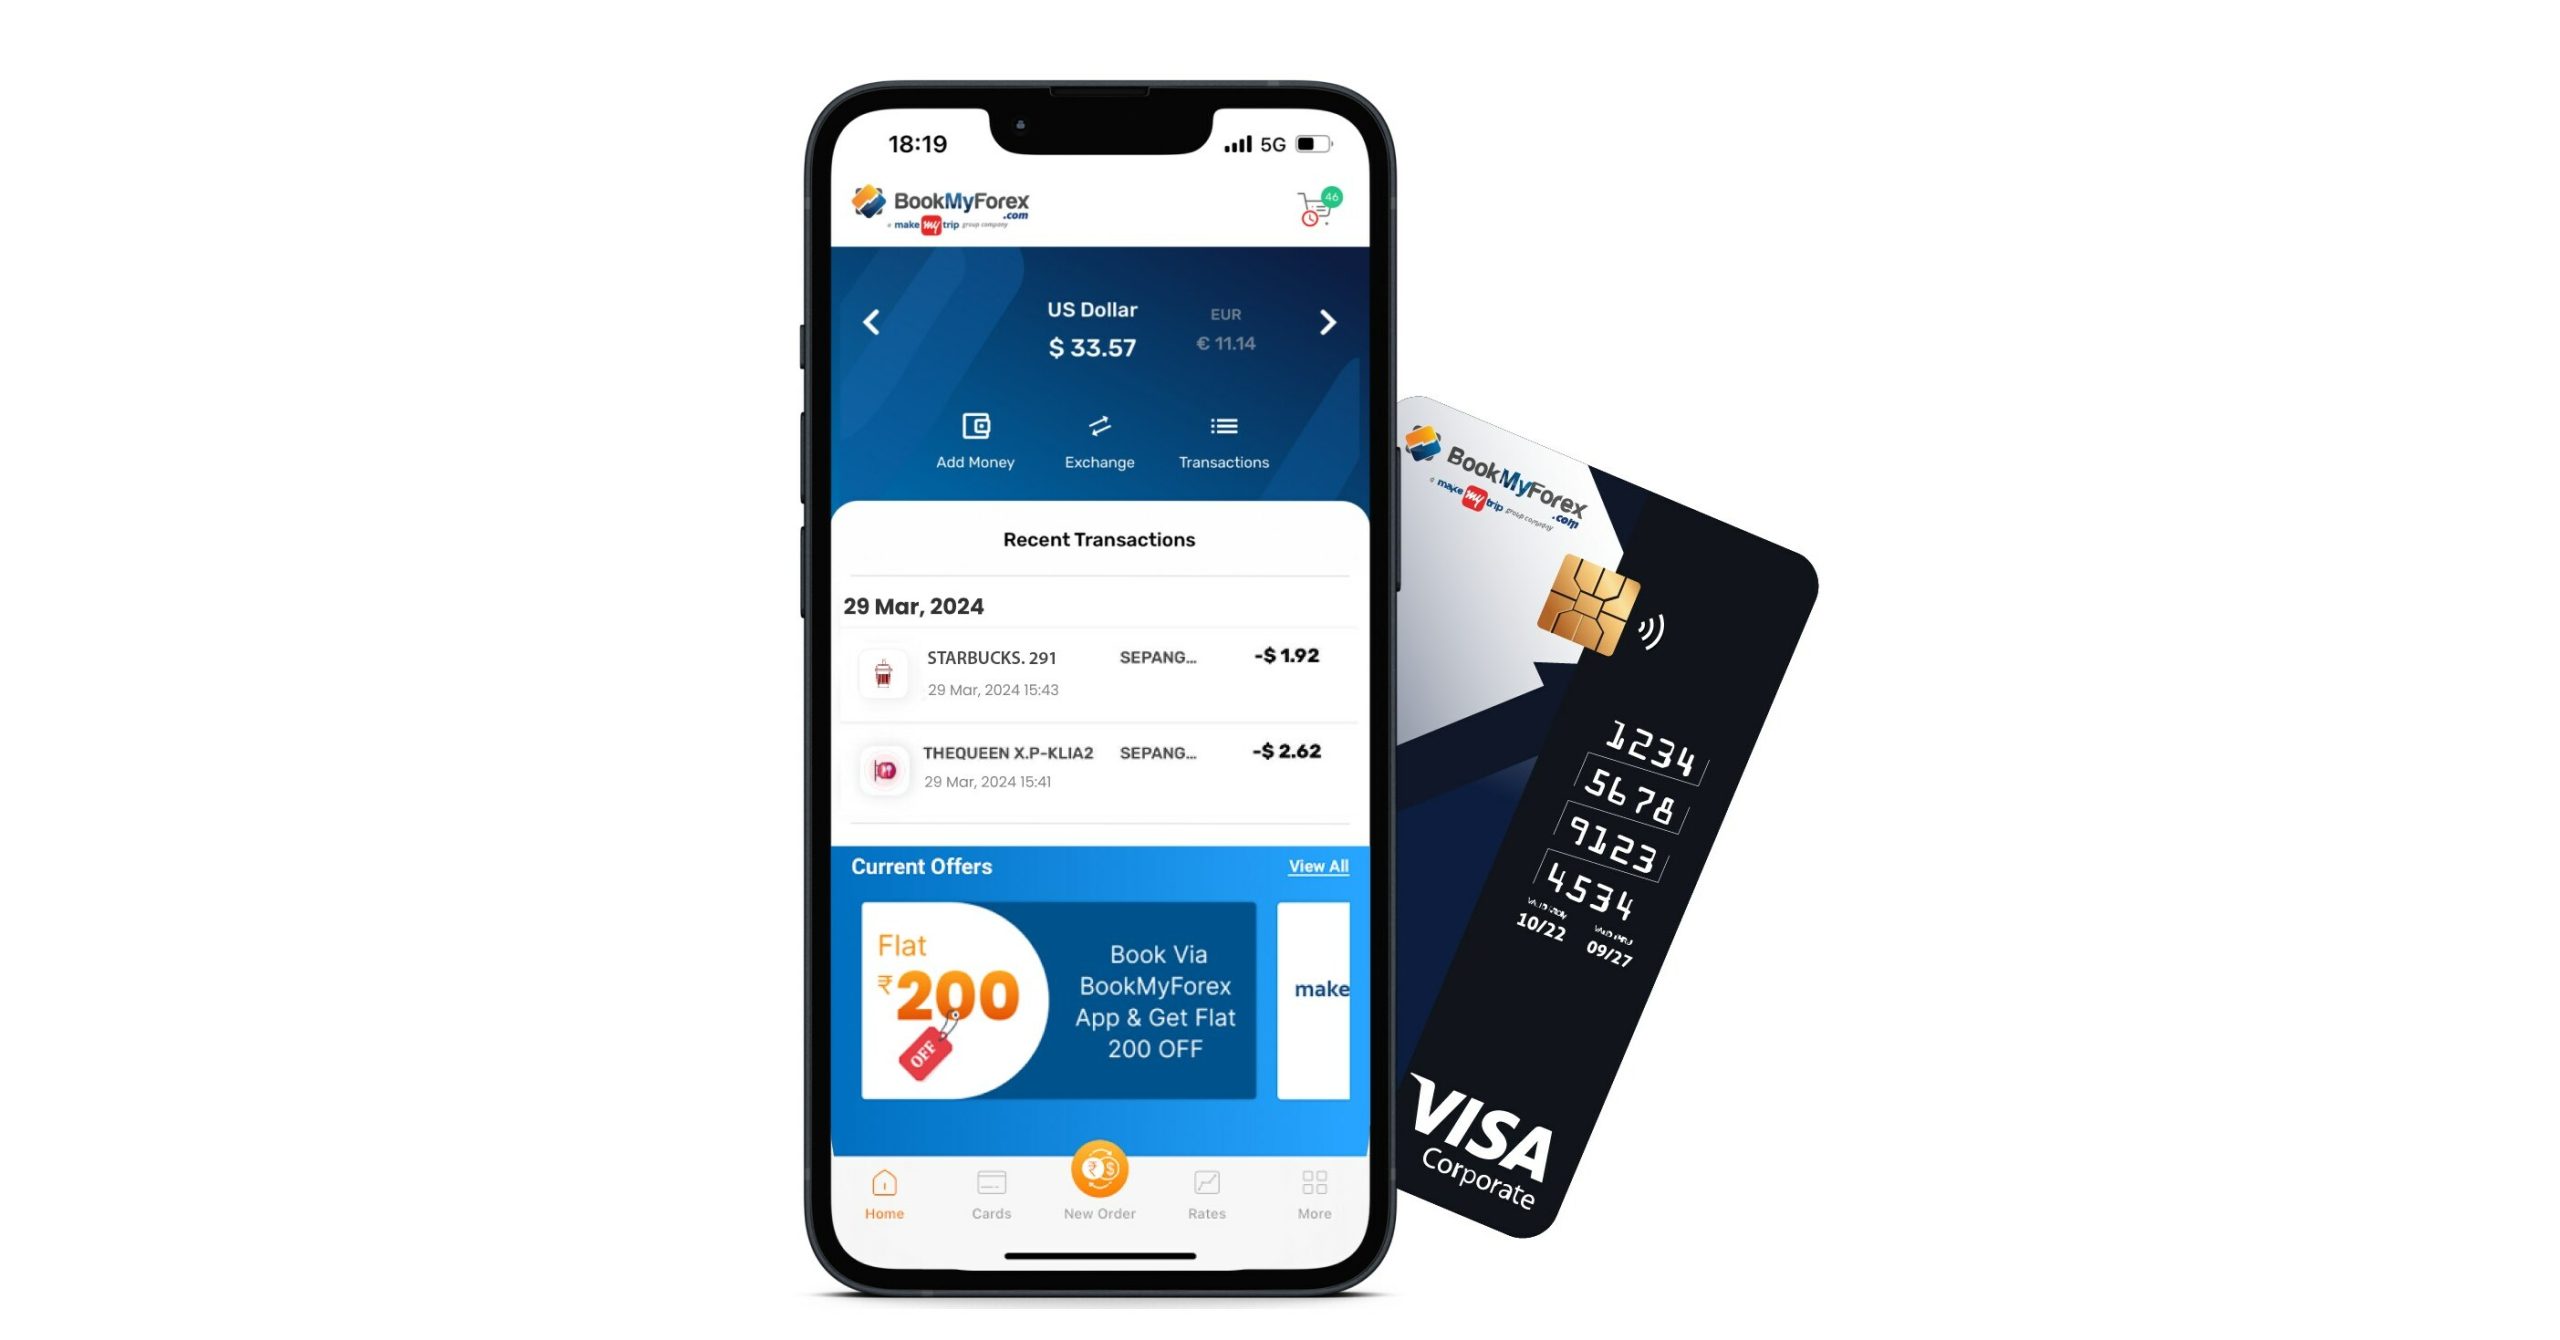
Traveling with wads of foreign cash? That’s kind of outdated now. Most people are switching to forex cards—prepaid cards you load up with whatever foreign currency you need before you even leave home. They work pretty much anywhere: shops, ATMs, online. The best part? You get the exchange rate locked in when you load the card, so you won’t get hit with surprise currency swings during your trip. Plus, you skip those annoying cross-currency markups your usual debit or credit card throws in.
If you’re heading abroad and thinking about getting a forex card, you can do the whole thing online these days—almost every major bank and official forex dealer in India offers it.
Forex Card vs Zero Forex Card — What’s the Difference?
Before you start, let’s clear up the difference between a standard forex card and a zero forex card.
A standard forex card is prepaid. You load it up with a set foreign currency (or a few) before you go. The exchange rate is locked right then. You usually pay no, or very little, markup on international transactions. You can reload it online or through an app. It’s best for planned trips where you know exactly where you’re going.
A zero forex card, on the other hand, is usually tied to your account—either debit or credit. It charges you in real time, and the exchange rate applies at the moment you swipe. There’s no cross-currency markup at all, hence the name. But you can’t load it in advance. If you travel all the time or spend in different currencies, this one’s more for you.
Documents You Need to Apply for a Forex Card
Here’s what you’ll want to keep handy when applying online in India:
– Valid passport (first and last pages)
– PAN card (it’s a must for any foreign exchange deal, thanks to RBI)
– Visa copy (shows where and why you’re traveling)
– Confirmed air ticket or travel booking
– Form A2 (declares your reason for buying foreign currency)
– KYC docs (Aadhaar or something similar for ID and address)
– Bank account details (cancelled cheque or statement, if you aren’t an account holder)
Step-by-Step: How to Apply for a Forex Card Online
Step 1: Pick Your Card and Currency
Head to the forex card page on your bank or dealer’s website. Choose between a single-currency or multi-currency card, depending on your trip. Hopping across countries? Go multi-currency and load up whatever you need.
Step 2: Enter Travel Details
Fill in your destination, travel dates, and why you’re going. This info keeps things above board with the RBI’s FEMA rules about how much foreign money you can carry out of India.
Step 3: Upload Documents and Finish KYC
Scan and upload your passport, visa, PAN card, and Form A2. If you already bank with them, your KYC might be done, so you can breeze through this step.
Step 4: Load Money and Pay
Type in how much you want to put on the card, in whichever currency. The site will show you the rupee equivalent at today’s rate. Pay up, and most banks will load your card within a few hours.
Step 5: Get and Activate Your Card
You’ll get your card at your address in 2–3 working days, or you can pick it up at a branch. Before you jet off, activate it through the bank’s app or website.
Conclusion
Honestly, applying for a forex card online is pretty straightforward if you’ve got your documents sorted. Whether you go with a standard card or a zero forex card for those fee-free international spends, just make sure you apply at least a week before you leave. That way, you’ll have plenty of time to get your card, load it up, and activate it. Traveling with a well-prepped forex card means you never have to stress about currency once you land.
